Showing posts with label Painted. Show all posts

Monday, 13 June 2016

Warlord Games Special Operations Troops- Review

Well, I am back. Who knows for how long, but enjoy it for as long as it happens!

I recently purchased the box of Special Operations troops from Warlord Games, one of their Project Z boxes.


 Looking at Project Z, it seemed to be that Warlord had just acquired the Wargames Factory kits, repackaged/rebranded them to sell.

And here is the first, easy critique to make is that there is 8 models in the pack, for what was the same price as three times that many in a Wargames Factory box. This change has also had flow on effects for the kit, but lets have a look at what is inside anyway!


I am off to the land of pedantry for the next bit, so I apologise in advance...
 
Ok, so the above image is the sprue you get. On it, are 8 sets of legs, 8 torsos, a variety of heads, three "groups" of weapons- M16, AK and SA80 plus derivatives. There is also an RPG, and an AT-4. Those familiar with other Wargames Factory kits will know the overscaled versions of their weapons (thick barrels etc), but that is a known quantity, and isn't a big issue.
 
The weapons themselves have a variety of variants, including the LSW version of the SA80, which is nice. The sets do come with underslung grenade launchers, weirdly the M16's UGL is not the common M203, but rather the AG36. Curious choice.
 
Weapon wise, the kit is lacking in a Light Machine Gun, a minimi/M249/PKM would be great to provide a "proper" fireteam.
 
 
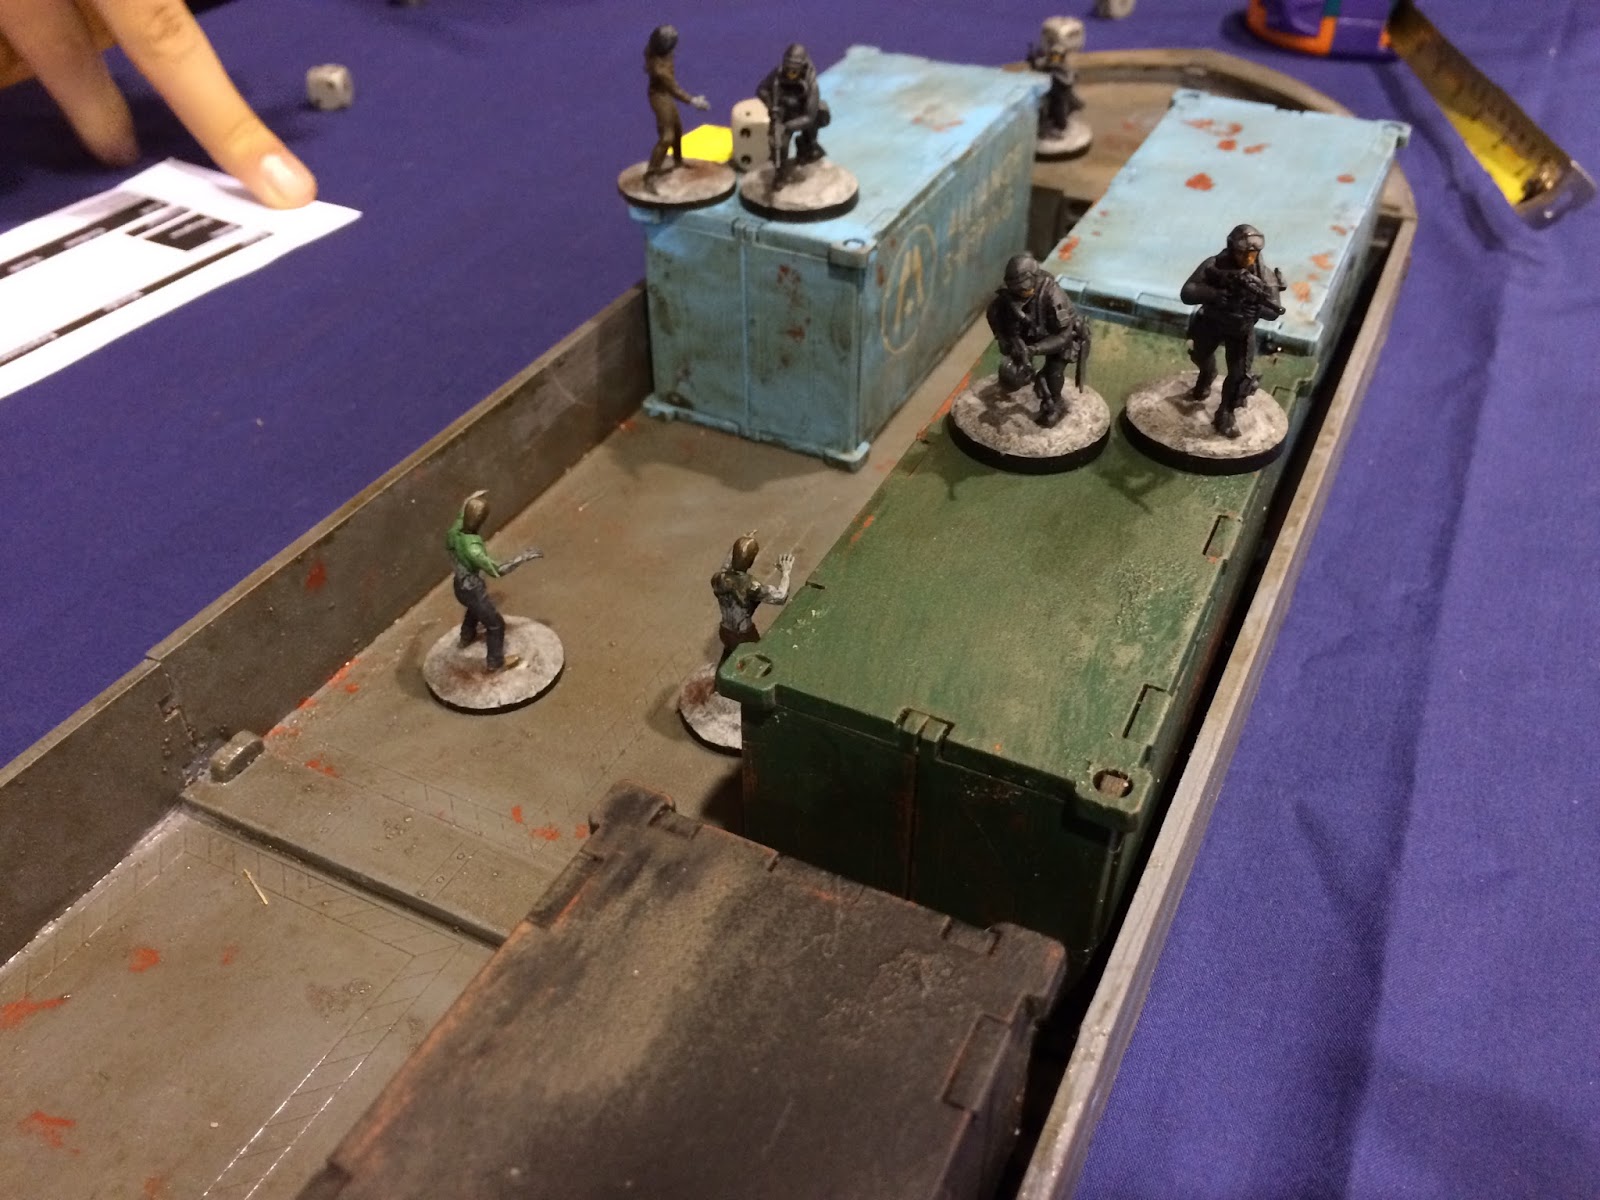
For my set of 8, I decided to make a full squad of the "Not Russian" Green Men from the Ukraine conflict. This meant that I would have a squad of 7, equipped with AKs, except for 1 with an RPK and another with a RPG. I gave them all balaclavas over their faces with green stuff too.

The whole squad
 Assembly on most of the figures was fine, for those familiar with the Wargames Factory kits, these assemble basically the same as every other one of those you have ever built. Each torso has a letter, each left arm has a letter, and each right arm has a letter too.

The issue which presents here, is that there are only 8 left arms. Want to use the "A" right arm more than once? You can't, you don't have a left arm for it. And even worse, there are two arms which are specifically for the rocket launchers. So don't want an RPG? Too bad! Get your converting tools out!

And most crucially, there are two bodies marked with the letter A. But only one A left arm. So even if you are being a good boy scout, building exactly what they want you to build, you can't.

Plus they are all in the "standard" Wargames factory pose:

Pictured: A good pose, but not for all 8 men
Similar poses....
The RPG gunner is lovely tho

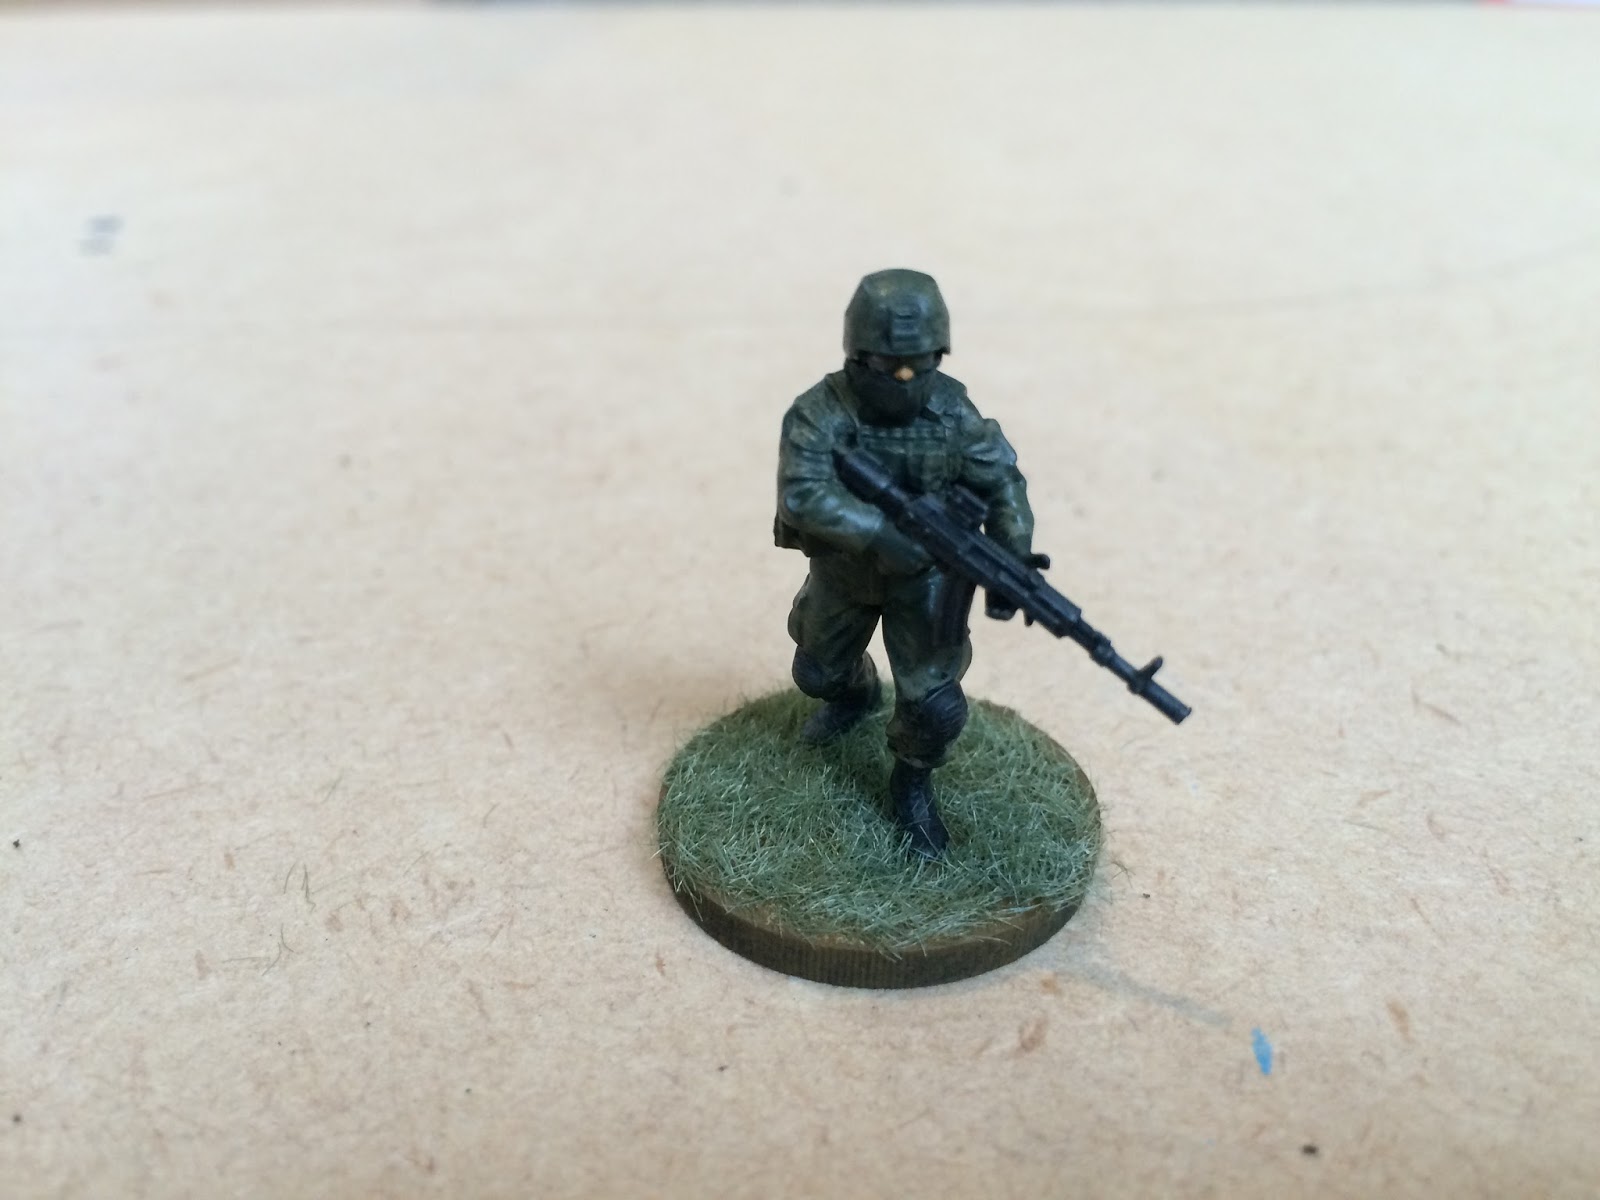
So, I had to convert. This is where I got to with my guys:

NCO, note the left arm used to be the one holding the AT-4, but with a new hand provided from another plastic kit.

A repose, so they won't all be looking in the same direction

So none of that is a big issue, I mean, I love converting and would have probably converted them anyway. I think, in the initial planned release of these models from Wargames Factory would have been like their other boxed sets, 3 sprues of men, plus an additional sprue of "cool bits". I think that last sprue would have had all of the extra things I dream of (more left arms, LMGs, Sniper Rifles etc).
 
But we will never know now....
 
 
So how do they paint up?


 Overall, I am pretty happy how they ended up, the detail on the models are consistent with the quality I expect from the Wargames Factory plastics, so from that perspective, I am happy.

So, would I buy them again? No, I don't think I would. Why? Well, I am a stickler for Modern combat and equipment (See Skirmish Sangin!), so would prefer probably to buy from others and get accurate modern combat teams.

But, if you want a pan-country modern military unit, perhaps some form of Expendables/A-team type unit, then these guys would probably be a good fit for you!

Lastly, I had a spare man from the unit, so converted a version of the Punisher, from his latest comic incarnation:


Converted (same issue with arms)
Painted front
Painted back
Thanks for reading!

Pooch

Sunday, 20 March 2016

Survivors- Tallahassee and Columbus

But wait, there are more survivors from Studio Miniatures painted!

These two are the very iconic characters from Zombieland, Tallahassee and Columbus! Both excellent sculpts from Studio Miniatures, and I have painted them up in the style of their movie characters.


And of course, they need a way to get around, this time provided by a cheap diecast car I found on the internet, with the only addition being a hand painted number on the door- true to original!
 
Gotta love rednecks....
So there you have it, another couple of survivors done, back to the painting desk!

Will my run of more regular posts continue? Hopefully!

Pooch

Tuesday, 15 March 2016

Walking Dead Wednesday- The Governor!

When I was checking out the Studio Miniatures range at the start of the year, I noticed that I had missed a figure for the Walking Dead Wednesdays- the Governor himself!

Not a part of the Kickstarter which Studio Miniatures ran last year, I have finally got around to buying him and painting him. A pretty simple paint job, a combination of dark browns and blacks leaves for a menacing figure- perfectly suited to his comic book origins!


Another excellent sculpt from Studio Miniatures, plus I do have a soft spot for the Steyr rifle!

Trying to get back to more regular postings, here is hoping!

Pooch

Monday, 8 February 2016

The Boat- Salt Weathering

The boat is done, and I have had a few questions about how I did it. As I said earlier, I decided to have a go at salt chip weathering, a technique I had seen done numerous times on the internet. It was always that one that I went wow, that is so cool, but I have no airbrush so I can't do it.

Well, I didn't buy an airbrush, but I have a fair bit of creativity, which is sometimes enough!

At this point, I will offer a disclaimer for following the tutorial that this technique has entirely been stolen from other people, and I am no means an expert and I accept no responsibility for my own actions, let along being responsible for yours.

This is just a log for my (possibly awful) method of doing it, feel free to copy and improve it for your own creations.

Right, so lets have a look at how to do the technique!

Step One
Undercoat the whole container in a dark red. I used a test pot of housepaint for this, as I knew I was going to be painting a whole darn boat with it!

I matt varnished the boat once the paint was dried also.

Step Two
Using a paint brush, paint water on the areas which you would like the rust to show through. Once the water is on, then sprinkle salt on top. I used normal, everyday salt for this.

I found a bit of trial and error here, working out how much water to put on before salting, how much salt etc. You will find the salt will adhere by itself, giving a really strange look:

Salty container
Salty ship!


Close up on the salty ship!
Step Three
Once the salt had been given time in the sun to dry, it was time for the next layer of paint. Ideally, this would be done via an airbrush, to give a nice thin, even layer of paint.

Being cheap, I bought enough spray cans from the local hardware store to make any graffiti artist jealous, and gave all of the pieces and even coat of colour.

I call this colour "Fallout Blue"

My high-tech spray painting facilities....

Step four
The fourth step is to get rid of all the salt! The how to guides I read recommended that I used a paintbrush, and brush the paint off. Now, I am sure that will work excellently when you use an airbrush, and a thin coating of paint.

Not so much out of a cheap spraycan!

So, once the paintbrush wasn't working well enough, I used a more forceful method of scraping using the side edge of a metal ruler (highly effective) and adding water to the paintbrush (to dissolve the salt).

One trick with the salt is that it will dissolve, then return to a solid when the water evaporates, meaning that like me, you may end up with a white salty covering of your nicely weathered model. More cleaning gets rid of it of course, it is salt after all!

Container!
Containers and ship decking
Step Five
Paint the details on the containers- the lettering and any other details. And then give it all another matt varnish.

You would think the alliance could afford a repaint....

Step Six
I was really happy with how it was looking, except the colours were still too bright. So I took some Army Painter strong tone, and heavily diluted it with Tamiya thinners (or turpentine, whatever you have handy) and washed the entire boat with the mix. I paid careful attention to not let the wash pool, the last thing I wanted was big drips and puddles on my hard work!

And once that had dried, it was time for the FINAL matt varnish, and the whole beast was done!

Hmmm. I wonder who this black container marked Bale Industrial might be shipping goods for....


Boat!
Well, there you have it. My attempt at a how to guide for a process which I (at least in part) made up.

Overall, I am really happy with how it finally came out. If I was to do it again, I really would use an airbrush, it would have a much, much better effect. I am not sure what I will next use the technique on however, so I have a bit of time to work out what I am going to do!

Back soon with February's project, and I need to get on to my other challenges too!

CP

Friday, 5 February 2016

January's terrain project- Boat Completed!

Well, apologies for the delay here, work has been getting on top of me, meaning that when I get home, the last thing I feel like doing was using a computer!

Luckily, I find painting relaxing, regardless of how busy I am. And that has resulted in a finished terrain project!

The boat came together really well, I will post up a how to for my method for salt weathering over the weekend, but for now, enjoy some pictures of the boat, and some pictures from a local convention where the MSV Canem (known colloquially as the SS Pooch-Boat) had it's debut!


Back over the weekend with a bit of a "how-to" for the salting, and of course, February's project!

Pooch

Friday, 15 January 2016

First Survivor of 2016- Daisy!

Right, so fresh from the big "this is what I am going to do post", I have actually managed to sit down and paint something!

The first survivor of the year comes from RN estudio, from their Indiegogo campaign I backed about a year ago (here). In fact, the figures are available for sale now I see.

I have to admit, this is the second (maybe third) time I have attempted to paint her, the first time I hadn't done enough prep work on the resin and the paint refused to adhere- my usual cleaning method for resin clearly hadn't worked out at all. I threw her into the "too hard" pile, where she sat for a good couple of months. It was only as I was trying to clear my painting table (unsuccessfully I might add), that I came across her again.

And while I was working on this month's terrain piece (more on that in the next day or two), I wanted something small which I could use to distract myself from the larger blocks of painting- which she was perfect for! Couple that with some inspiration from the latest Star Wars movie, you have Daisy (obviously named for Daisy Ridley, and her character Rey):


Not a bad way to ease into the new year! She is a bit less dark in person, I am just struggling a little sorting out lighting. Clearly I just need to finish more survivors, and get more practice, right?

Update on the terrain for January coming soon, hopefully the weather clears up for me to progress it....

CP

Thursday, 17 December 2015

Survivor Friday- Dorothy and the Gang

Right- we are back to Survivor Friday!

Apologies for the lack of Survivor Friday last week, but with the in-laws staying for the weekend my poor wee miniatures got locked in a cupboard until the visitors had left. To be honest, it was quite a good break, as painting all of the figures for Medieval Mayhem took some serious doing, so it was good to have a day or two to just not paint. It meant that when I started again, it was all the more enjoyable.

Making it even more enjoyable was the fact that I had one last set of miniatures from Studio Miniatures to paint. Not Medieval Mayhem this time, but instead one of my absolute favorites from them:


My sister was (and still is) a devout fan of the Wizard of Oz, the 1939 film with Judy Garland. Growing up I have seen that movie far more times than I care to remember, but it meant that when I saw these figures in the Studio Miniatures range, I had to have them!

So the group is made up of Dorothy, who is a fair bit more punk rock than Judy Garland. Plus she is packing two pistols!


And we have her loyal dog, Toto. Who I couldn't resist painting as a Doberman, rather than a little cairn terrier!


The scarecrow is looking more alive, but still worse for wear. Where is his other boot?


As for the Tin Man, well, you take whatever armour you can get, right? You have to love the fireaxe!


And lastly, the cowardly lion. Mascot suit should protect from a zombie bite right? Although, you will lose a lot of depth perception from that giant head....


So there you have it, another cracking set of Studio Miniatures which I have absolutely loved painting. I took these photos with my new camera, some have come out really well, some really haven't. So apologies for that, I will get better, honest!

Must be about time to do another order with Studio Miniatures to restock....

Chris