Showing posts with label Terrain. Show all posts

Friday, 5 February 2016

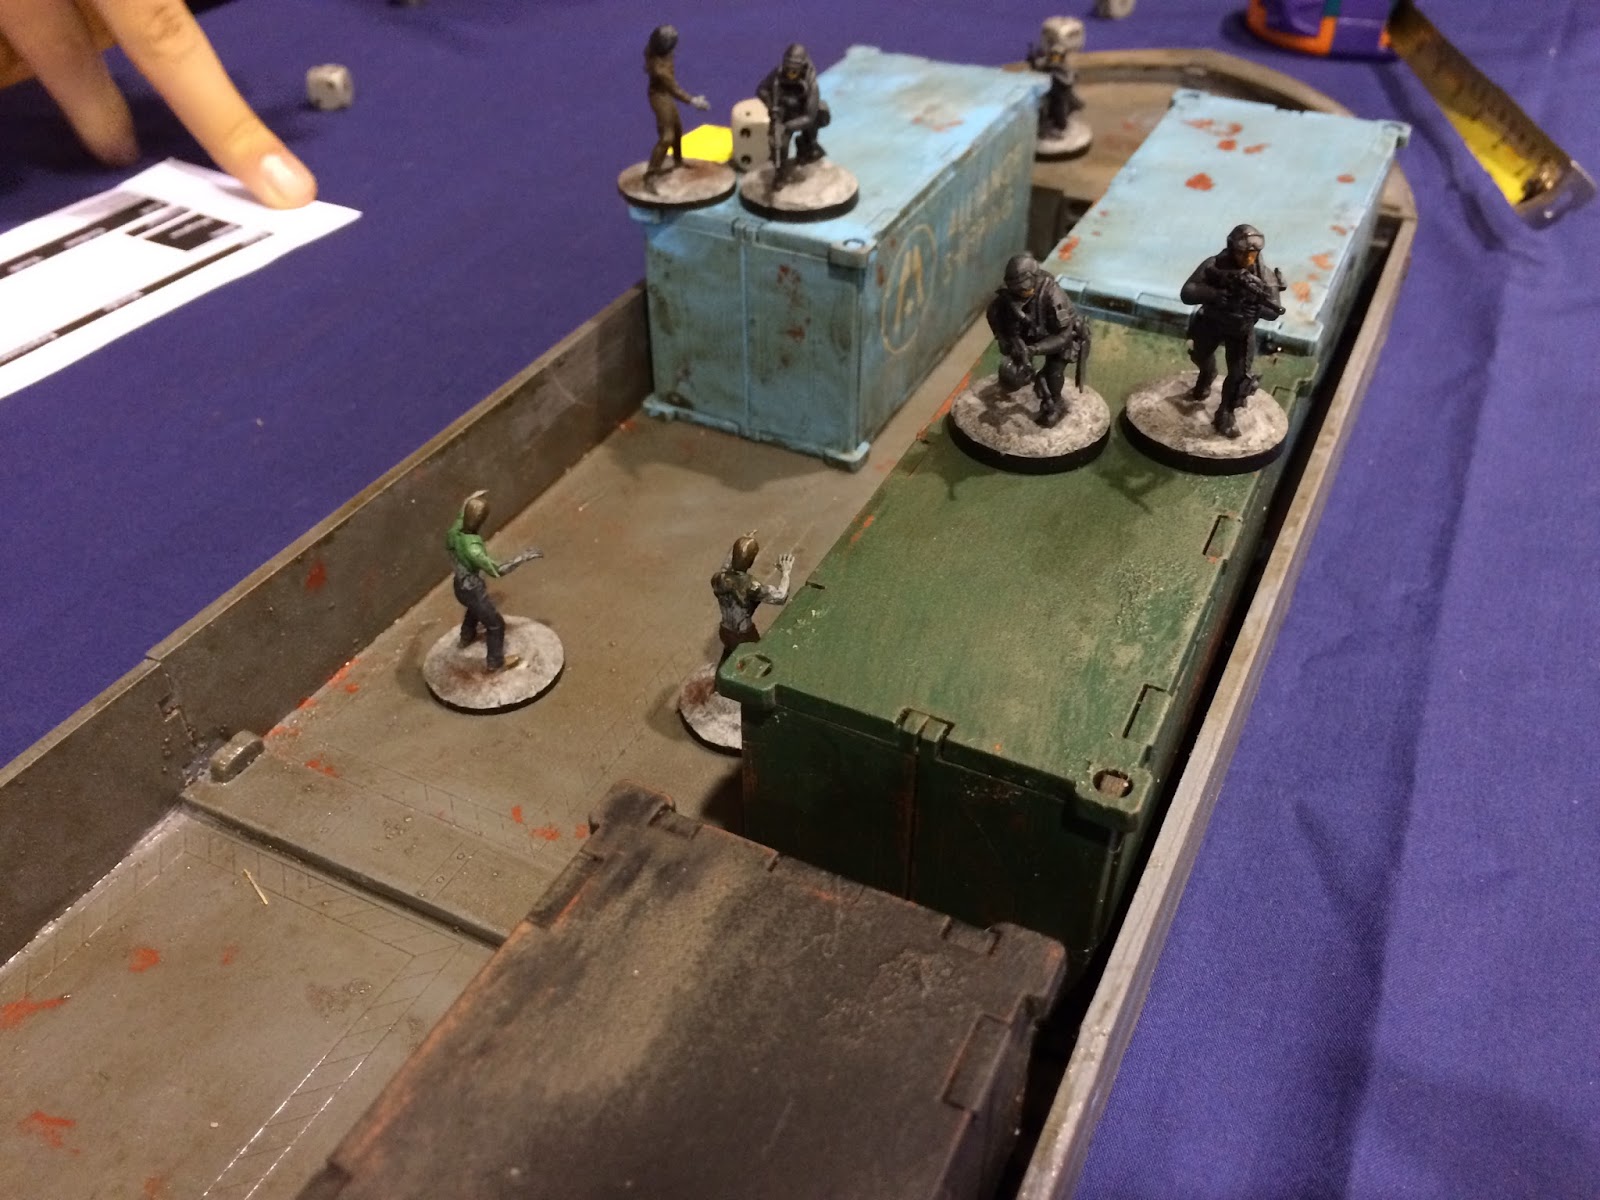
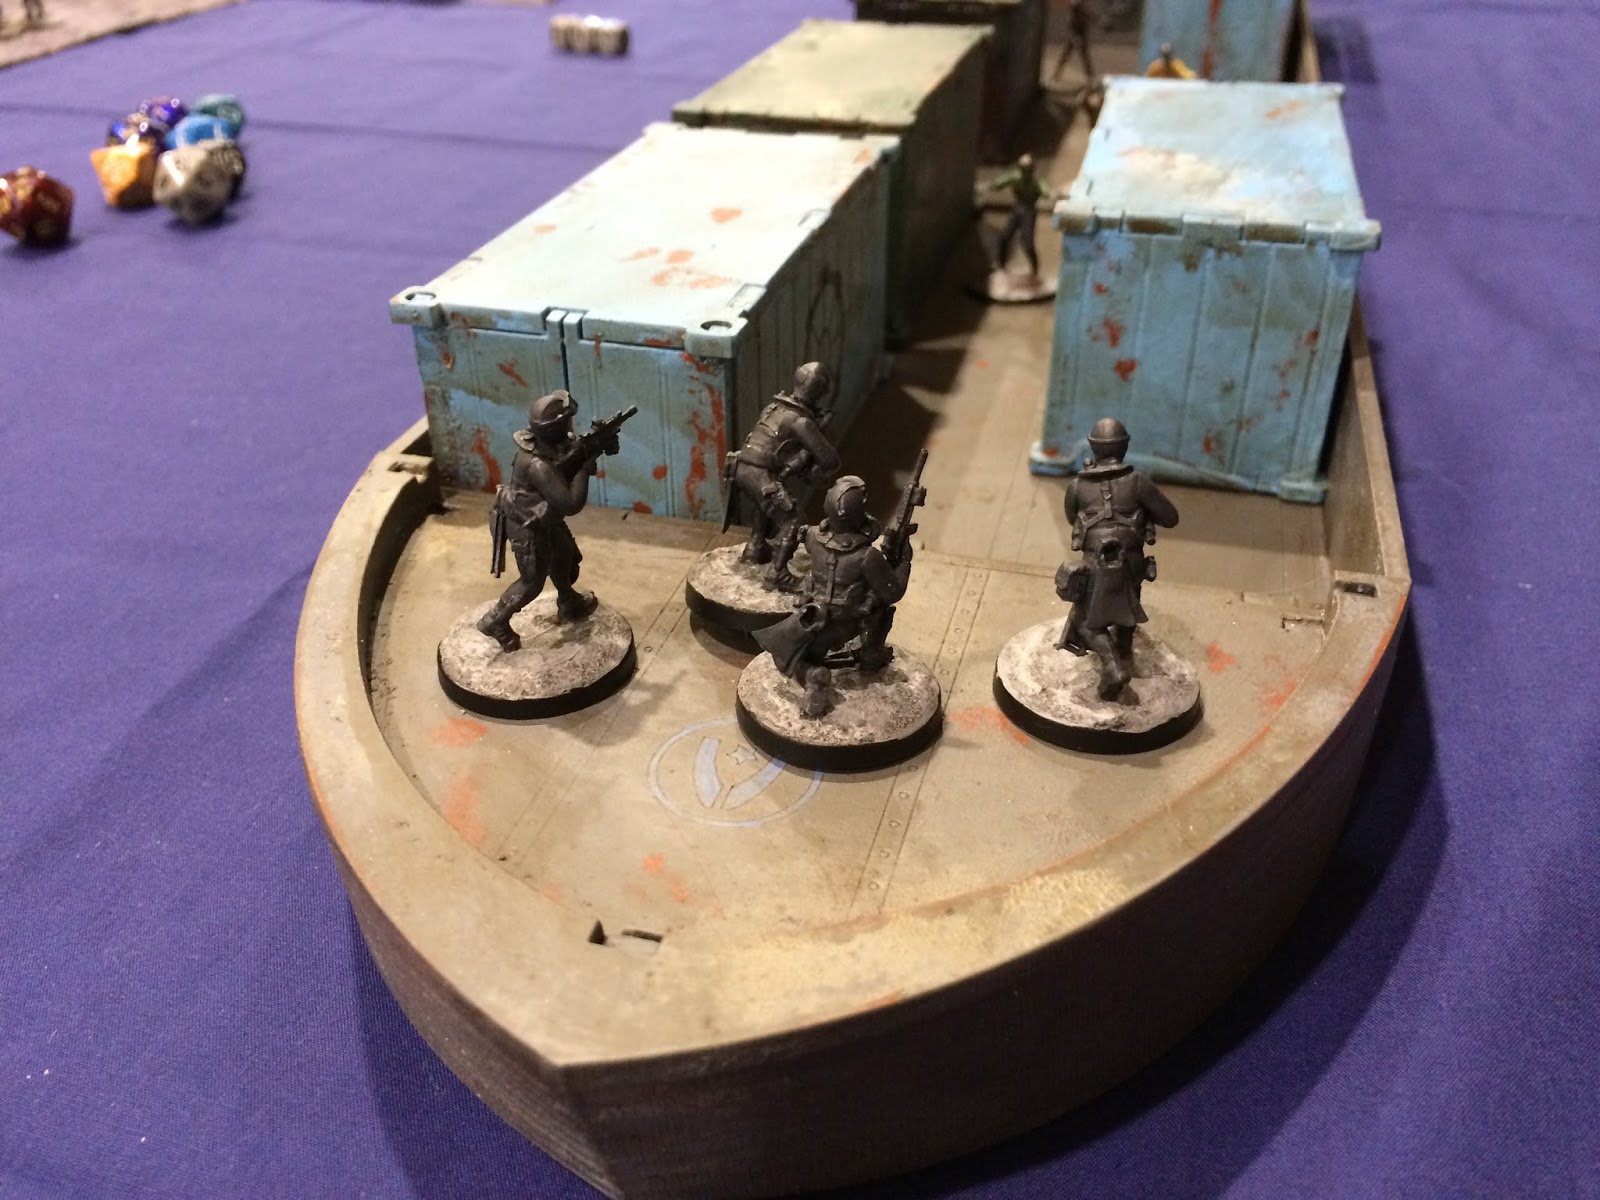
January's terrain project- Boat Completed!

Well, apologies for the delay here, work has been getting on top of me, meaning that when I get home, the last thing I feel like doing was using a computer!

Luckily, I find painting relaxing, regardless of how busy I am. And that has resulted in a finished terrain project!

The boat came together really well, I will post up a how to for my method for salt weathering over the weekend, but for now, enjoy some pictures of the boat, and some pictures from a local convention where the MSV Canem (known colloquially as the SS Pooch-Boat) had it's debut!


Back over the weekend with a bit of a "how-to" for the salting, and of course, February's project!

Pooch

Sunday, 17 January 2016

January's Terrain Project- A boat!

Since showing off the unopened parcel back in my planning for 2016 post, I have been very busy, not just painting Daisy, but also assembling this:

The lower hull, and also showing the flat pack MDF sheets ready to be punched out

And assembled!

It is the MSV Ironsides from TT Combat, and it is an absolute beast!

With a full complement of containers, a two story bridge, stairs and other cool laser cut details, this was simply too cool for me not to buy.

With a 28mm soldier for scale

All the pieces assembled

And when placed in situ

Assembly wise, the kit was not too bad- I have assembled far worse! I used both superglue and PVA to assemble the kit, and recommend a degree of patience while assembling the larger parts- for example the container deck is two pieces and getting them to sit right, as well as their side railings was a little challenging! Assembling it late at night probably wasn't helping that either.

Regardless, it has been built now, and has even got a coat of paint!


I am planning on trying out the salt weathering method on it, to give it a rusted hulk kind of look. Should be good I think!

More on this as I progress....

CP

Wednesday, 16 December 2015

Terrain- Gamecraft Miniatures 28mm Church

In some of the feedback about Medieval Mayhem I have been receiving so far (have I mentioned recently that you too can buy a copy from skirmishoutbreak.com?) people have been asking where that big church came from!

So, to answer the question, here is a closer look at the church, with the help of the Black Knight!


It comes from Gamecraft Miniatures, and is made from 3mm MDF. I am a big fan of this new booming market of MDF buildings, and Gamecraft is probably my favourite supplier in this space. I own plenty of their 15mm buildings for my moderns gaming, so when I spotted this in their 28mm range, I just knew I had to have it! Allen at Gamecraft is great to deal with, I have only had one minor issue with one of the 30 something buildings I have gotten from him, and he was able to fix it right away. Great customer service in my book.

Right, back to the church. So the building itself is made up of two layers of MDF, which provides both depth and detail to the model. I assembled it in sections (wall by wall), using pegs and rubber bands to keep the pieces together while the glue hardened. There are a number of laser cut details added, the windows are lovely (and Gamecraft sell stained glass to go in it too, which I really should get!) as well as the crosses on the tower. After assembling, I liberally coated the model with Tamiya textured paint to give it that stippled covering, and then gave it a couple of coats of grey.

Little windows

Crosses

Doors

The roof is easily removable, and I added some interior doors. Speaking of the interior, it also comes with some lovely wooden roof framing too.


I must get some pews and other things to put inside, but for now, the church is done. I really need to get more terrain made for my zombie gaming.

Chris

Tuesday, 6 January 2015

First Building- update 1 and Zomb-Annie

Work has continued on my first building for my small town. It began with a box that looked like this:


Step one was to cut the top of it off. I want to be able to go inside the buildings in my town, so a removable roof is key. Once I have cut the roof out, I flipped the now hollow wall structure over, so that I had a nice neat edge at the top. By adding some joists from spare MDF rod, I have the bones of the structure. The whole structure was glued down onto a 3mm MDF board to help give the walls structure, making up for removing the roof piece from the box.


The roof required a bit of trimming to make it fit neatly, and importantly, be able to be removed easily. I added a air conditioning unit from Laser Cut Card (get yours here) to both give the roof some variety, and to also give me something to grab on to when I want to remove the roof.


Next step was to do some detailing. First step was obviously windows and doors, which I cut using my trusty scalpel (with a fresh, sharp blade) and my equally trusty metal ruler. I added some internal walls using 3mm MDF, to create a small back room in the building. Once the MDF was cut to the same size as the building, the last job was to use some permafill to smooth the joins between the MDF and the cardboard.

And this is how it looks so far:

Front of the building, with Zombies and Survivors for scale


Rear of the building, showing the Laser Cut Card ladder (you have to be able to access the air-con unit somehow!)

And the inside, showing off the small room

So that is as far as it has gotten so far on the building. I have already worked out what it will be, and will be astounded if you guess right!

But wait, that is not all for today, I also finished Zomb-Annie yesterday, and couldn't wait to share her with you! You will recall that she is a mismatch of parts between the Wargames Factory Survivor Women box and the Wargames Factory Zombie Vixens box. I think she has come out very well!


A hard knock life indeed!

Back Friday for the next survivor,

Chris

Sunday, 4 January 2015

Terrain- Laser Cut Card Containers

So, I am back with more terrain, this time with some containers.

I am a big fan of the humble container, because they are all about efficiency. The container was a complete revolution to shipping goods, so much so that it is actually difficult to imagine how we got by without them. So naturally, my apocalypse needed more than a few containers. I would love to be able to have a container yard, or even a whole port worth of containers!

My containers come from a company out of South Africa, called Laser Cut Card (website is here). I had gotten in touch with them before, to pick up one of their vehicles out of sheer curiosity. Now, in the world of 3mm MDF laser cutting, cardboard is a little... odd. I was skeptical at first about spending my hard earned cash on something which I thought would be so fragile!

I was so impressed with the vehicle, that I bit the bullet and ordered a fair bit of terrain from them. Lots of containers, some odds and sods and conversion bits. But for this project, I have started small, with a pack of 3 containers. So bear with me here, because I think they are pretty cool.

When they arrived, the container pack looks like this:


Which when you opened it, it comes out as a few thin, flimsy (albeit detailed) sheets of card:


However, as with the vehicle, I got over my prejudices really fast when I realized how solid they are once assembled. The card is folded into a rectangle, the ends glued on and additional parts glued on top of them. I used superglue for the assembly, and despite a few stuck fingers, they have come out really nicely I think!


And with Selene for scale:


I kept the detailing pretty simple, just a few pieces of information on the ends of the containers. So while I have only completed three so far, I have enough kits for a fair few more (lots more!). I think some of the next few will have to have graffiti like the Jersey Barriers. But before I can do that, I need to actually build them!

I must be about due to start making some more terrain- 3 containers and some Jersey barriers just isn't going to be enough is it? I was struck by a flash inspiration when I was unpacking my Christmas presents once we got home from our holiday. Taking Zabadak's lead of posting a mystery box which will soon be turned into terrain, here is the first box which I have started construction on...

Bet you can't guess what it will turn in to!

Anyway, back to painting, gotta finish this week's survivor. And the third wave of zeds (Zomb-annie!). And terrain. And this building. And now I am back at work......

Chris

Sunday, 7 December 2014

Terrain- Concrete Barriers 1

I do love a good apocalypse destroyed city. I admit it.

Between the derelict buildings, rusted cars and empty streets, it just screams apocalypse for me. So when I started planning a table of terrain for me to play Zombie on, it was natural that I would chose to replicate a city. The Walking Dead has been a great source for this- its view of the sprawling desolation that is Atlanta in Season One, as well as in the most recent season has been awesome to get my mind thinking on just what I want to have as part of the table.

While my plans might be big, for my first set of terrain I started small, with five of these:


These are Jersey Barriers, from Wikipedia they are "A Jersey barrier or Jersey wall is a modular concrete or plastic barrier employed to separate lanes of traffic. It is designed to minimize vehicle damage in cases of incidental contact while still preventing the crossover case of a head-on collision. Jersey barriers are also used to reroute traffic and protect pedestrians during highway construction, as well as temporary and semi-permanent protections against landborne attack such as suicide vehicle bombs.".

The models come from Secret Weapon Miniatures. I have only got the destroyed set so far, I definitely intend to pick up a set or two of the (relatively) undamaged ones, to make some form of abandoned army defensive positions on my ruined city streets.

Painting them was pretty simple. First, give them a soak then a scrub in warm soapy water. Resin needs releasing agents so that it doesn't stick to the mould, which leaves an oily residue that paint won't stick to. I'm sure most of you know this already, but if you forget to do it, it will ruin your lovely resin models!

Next step, give it an undercoat of black spray paint.


Then, I painted the whole model with Vallejo Medium Sea Grey, but you are welcome to choose whatever grey you want. I went with a lighter one, because it looked sortof like the real one I showed earlier.

To give the barrier some depth, and to show off the damaged parts, I gave it a liberal coating of Games Workshop's Nuln Oil. Once leaving that to dry, I then drybrushed the barriers again with Medium Sea Grey.


And that is enough to complete the barrier. Nice and simple, and will look effective on the tabletop.

I however have been reading the excellent DMZ comics again recently, which has some wonderful imagery of NYC as the middle of a new Civil War. One of the standout things which I love about the artwork in that comic is the amount of graffiti over everything- which made me think I wanted the same for my Jersey Barriers. So off to Google I went, my thanks to those Graffiti Artists who's work I shamelessly copied- they are far more creative at their craft than I could ever dream of being, so it made more sense for me to copy their work!

This is how my 5 barriers ended up.....


I used a couple of coats of the bright colour, to make sure that the colours were really bright. I then made a mix of Vallejo Hull Red and German Grey, and gave a light dry brush over the damaged areas, and some other parts of the barrier to give the impression that the Zed Apocalypse has not been kind to these poor concrete barriers.

Anyway, back to painting the next survivor!

Chris