The boat is done, and I have had a few questions about how I did it. As I said earlier, I decided to have a go at salt chip weathering, a technique I had seen done numerous times on the internet. It was always that one that I went
wow, that is so cool, but I have no airbrush so I can't do it.
Well, I didn't buy an airbrush, but I have a fair bit of creativity, which is sometimes enough!
At this point, I will offer a disclaimer for following the tutorial that this technique has entirely been stolen from other people, and I am no means an expert and I accept no responsibility for my own actions, let along being responsible for yours.
This is just a log for my (possibly awful) method of doing it, feel free to copy and improve it for your own creations.
Right, so lets have a look at how to do the technique!
Step One
Undercoat the whole container in a dark red. I used a test pot of housepaint for this, as I knew I was going to be painting a whole darn boat with it!
I matt varnished the boat once the paint was dried also.
Step Two
Using a paint brush, paint water on the areas which you would like the rust to show through. Once the water is on, then sprinkle salt on top. I used normal, everyday salt for this.
I found a bit of trial and error here, working out how much water to put on before salting, how much salt etc. You will find the salt will adhere by itself, giving a really strange look:
 |
| Salty container |
 |
| Salty ship! |
 |
| Close up on the salty ship! |
Step Three
Once the salt had been given time in the sun to dry, it was time for the next layer of paint. Ideally, this would be done via an airbrush, to give a nice thin, even layer of paint.
Being cheap, I bought enough spray cans from the local hardware store to make any graffiti artist jealous, and gave all of the pieces and even coat of colour.
 |
| I call this colour "Fallout Blue" |
 |
| My high-tech spray painting facilities.... |
Step four
The fourth step is to get rid of all the salt! The how to guides I read recommended that I used a paintbrush, and brush the paint off. Now, I am sure that will work excellently when you use an airbrush, and a thin coating of paint.
Not so much out of a cheap spraycan!
So, once the paintbrush wasn't working well enough, I used a more
forceful method of scraping using the side edge of a metal ruler (highly effective) and adding water to the paintbrush (to dissolve the salt).
One trick with the salt is that it will dissolve, then return to a solid when the water evaporates, meaning that like me, you may end up with a white salty covering of your nicely weathered model. More cleaning gets rid of it of course, it is salt after all!
 |
| Container! |
 |
| Containers and ship decking |
Step Five
Paint the details on the containers- the lettering and any other details. And then give it all another matt varnish.
 |
| You would think the alliance could afford a repaint.... |
Step Six
I was really happy with how it was looking, except the colours were still too bright. So I took some Army Painter strong tone, and heavily diluted it with Tamiya thinners (or turpentine, whatever you have handy) and washed the entire boat with the mix. I paid careful attention to not let the wash pool, the last thing I wanted was big drips and puddles on my hard work!
And once that had dried, it was time for the FINAL matt varnish, and the whole beast was done!
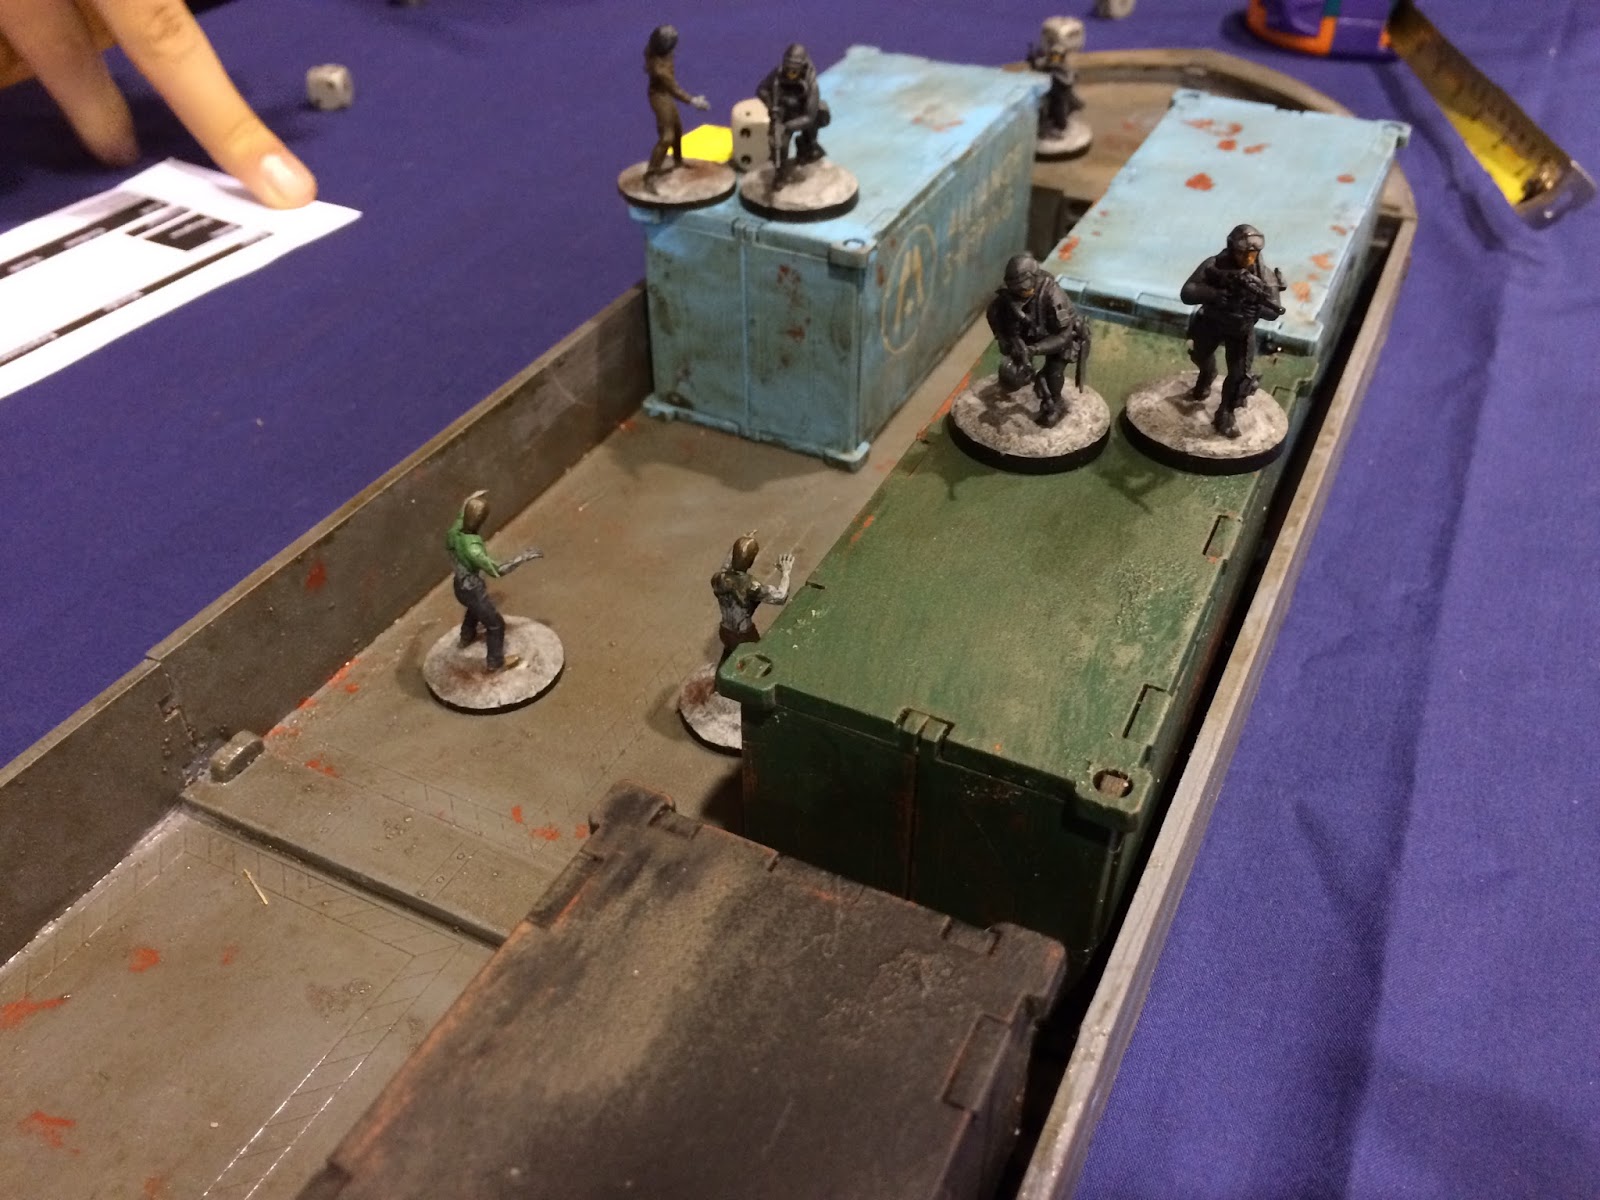
 |
| Hmmm. I wonder who this black container marked Bale Industrial might be shipping goods for.... |
 |
| Boat! |
Well, there you have it. My attempt at a how to guide for a process which I (at least in part) made up.
Overall, I am really happy with how it finally came out. If I was to do it again, I really would use an airbrush, it would have a much, much better effect. I am not sure what I will next use the technique on however, so I have a bit of time to work out what I am going to do!
Back soon with February's project, and I need to get on to my other challenges too!
CP